How-to-guide
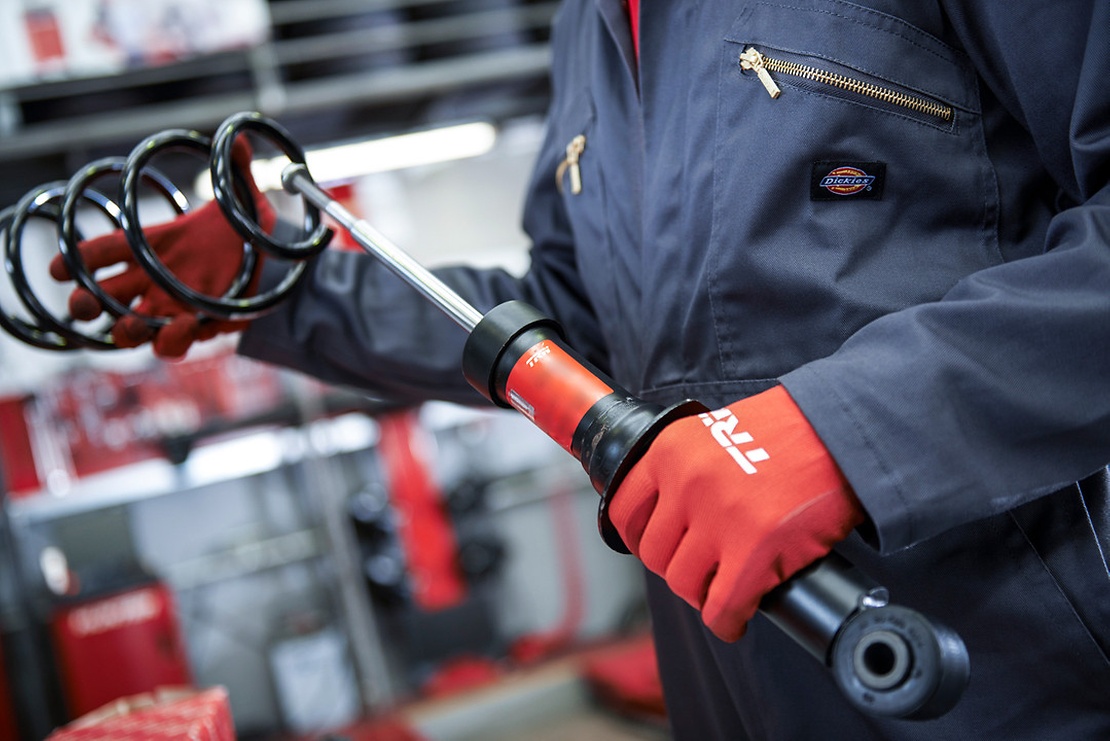
Unpack the suspension shock absorber strut assembly and for each part, we need to pre-assemble the coil spring before fitting to the car.
Mount the shock absorber strut in a special shock absorber bench vice in the vertical position and release the compression clip. Allow the shock absorber rod to expand outwards then manually push in two to three times to allow fluid and air to be separated from each other.
Pre-assemble the new bump stop and protection kit together with the mounting metal plate. Slide this over the top of the piston rod and then add the spring over the top ensuring the spring is the correct way up in accordance with the markings on the spring.
Make sure the spring is correctly seated in the lower seat then using a suitable compression tool, compress the spring to allow assembly of the top mounting ensuring this is correctly located as shown. Attach the top fixing followed by the top mount.
Fix the top mount nut and torque to the required level. With the vehicle on a suitable two post lift, mark the appropriate wheel for the appropriate corner of the car and remove the road wheel.
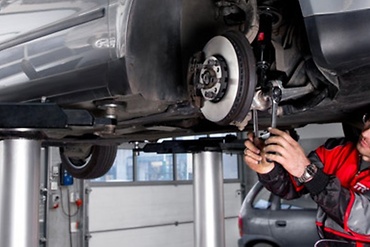
Remove any pipe work and cable work that is attached in the vicinity of the strut and clean the mounting bolts for both the strut mount and the stabiliser link. Remove the fixing bolt attaching the stabiliser link to the strut and remove the lower fixing bolts attaching the strut to the hub assembly.
Support the weight of the suspension arm using a suitable axle stand and then detach the strut assembly from the wheel hub assembly. From within the engine bay, remove the fixing bolts for the top mount then from within the wheel arch, drop the strut assembly and remove.
The video now shows the old and the new parts together and the failure of the top spring mount can be seen. Take the new strut assembly and offer up from inside the wheel arch and attach the fixing bolts within the engine bay. Clean the mounting holes on the hub assembly and locate within the fixing bracket of the strut assembly. Insert the bolts. Apply lock tight fluid and torque the nuts to the required level.
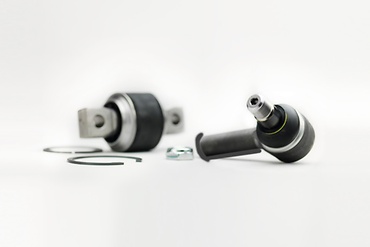
If fitting a new stabiliser link, remove from the packaging and fit first to the stabiliser bar and torque to the required level. Then attach to the strut and again torque to the required level.
Reattach the cables and pipe work previously removed from the strut unit and now torque up the fixing bolts for the top mount within the engine bay. Replace the road wheel. Complete the supplied sticker with the mileage details and when the next inspection is due and attach to a suitable area under the bonnet.
Finally, check and adjust if necessary the wheel alignment in line with the manufacturers specifications.
Nice-to-know

ZF Aftermarket product range
Discover the complete portfolio of suspension systems in our product catalog.


