How-to-guide
Firstly, check that the part you have received matches identically with the part you are replacing before removing the faulty part. This is vitally important. Ensure the new reservoir has the right connectors and pipe ports.
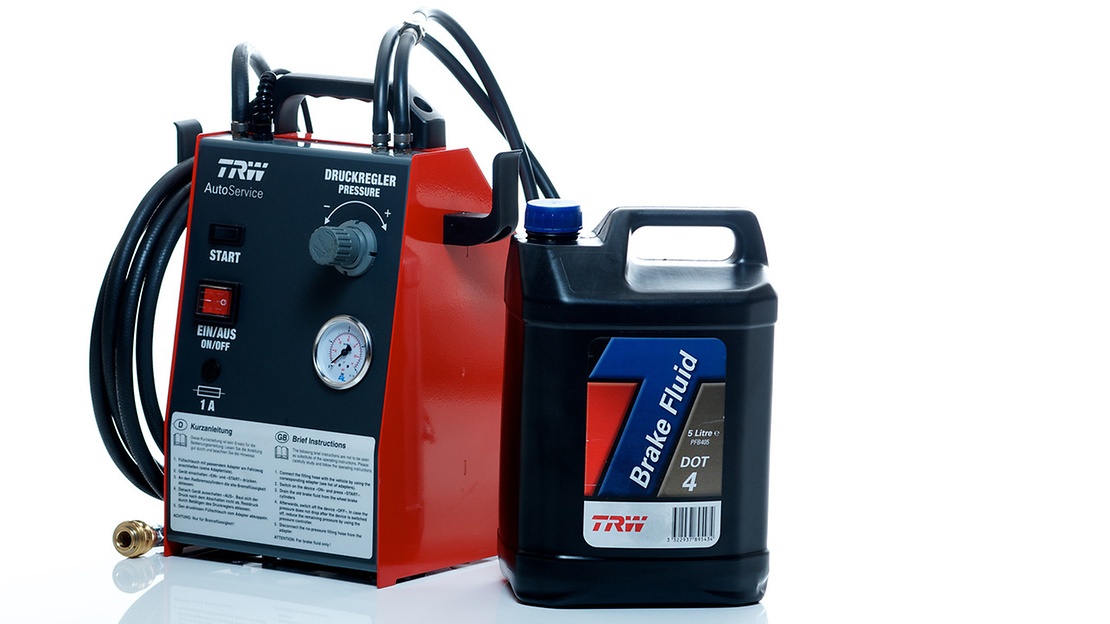
To start replacement, remove the cap and the integral filter. Using a suitable brake bleeding machine, remove all fluid from the master cylinder. Place protective material beneath the master cylinder to soak up any spills of brake fluid and remove the reservoir from the master cylinder, disconnecting any external electrical connectors and pipe work.
Prepare the new reservoir for fitment to the master cylinder. To make installation easier, smear a small amount of brake fluid around the pushing ports of the reservoir.
Firmly fit the new reservoir into the master cylinder. Reconnect the external pipe work and electrical connector. Remove the filler cap and attach the appropriate connector from your brake bleeding machine. Once connected, press the start button and keep it pressed down, adjusting the pressure level to the value recommended by the vehicle manufacturer. Your brake bleeding machine will now fill the reservoir to the correct pressure with new brake fluid.
Bleed the complete system as recommended by the Vehicle Manufacturer as there could be air in the system. Check that the fluid level is - depending on the thickness of the brake pads/shoes - between the minimum and maximum levels indicated on the reservoir. Finally, clean the whole master cylinder and reservoir area with brake cleaner. Brake fluid is extremely corrosive and any spills must be cleaned up correctly to avoid future problems.
Nice-to-know

ZF Aftermarket product range
Discover the complete portfolio of brakes in our product catalog.


