How-to-guide
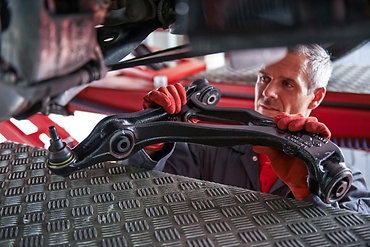
With the vehicle on a two post lift, raise the vehicle to a comfortable working height and remove the road wheel. With a suitable axle stand, take the weight of the rear suspension unit as shown.
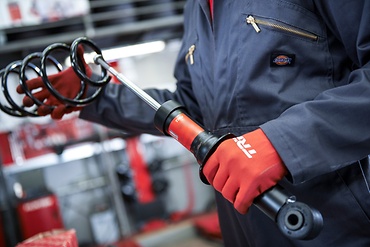
Apply releasing agent to the mounting bolts, remove the lower mounting bolt then lower the suspension unit on the axle stand to release the shock absorber. Now remove the top fixings and remove the shock absorber assembly. With the correct tools, remove the top mount from the shock absorber.
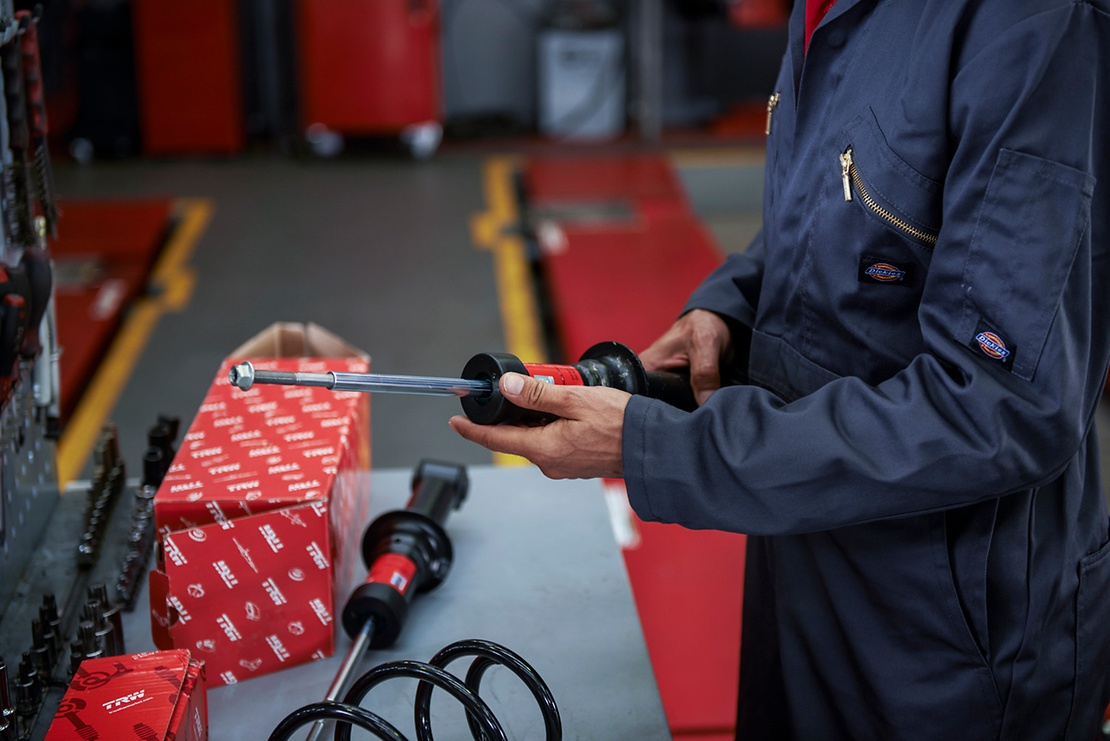
Once this is removed, remove the protection kit, assemble the new protection kit and remove the retaining strap from the new shock absorber. Allow the rod to come softly out. Before fitting the new protection kit and top mount, depress and release the piston rod a few times to allow fluid and air to be separated from each other. Attach the new top mount and secure using the appropriate tools. The assembly is now ready to put back in place. The procedure is the reverse of the removal.
First, secure the top mount in position torquing the fixings to the appropriate level as recommended by the vehicle manufacturer. Now raise the suspension so that the mounting holes for the bottom of the shock absorber align correctly and reattach using the bolt. Again, torque to the recommended requirement. At this point, the suspension should still be supported by the axle stand. With everything in place, remove the axle stand and reattach the road wheels, torquing the retaining nuts to the required level.
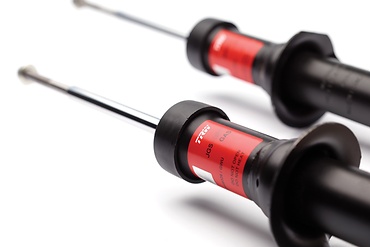
TRW recommends that shock absorbers are always changed in axle pairs for balanced vehicle performance and maximum safety.
Nice-to-know

ZF Aftermarket product range
Discover the complete portfolio of suspension systems in our product catalog.


