How-to-guide
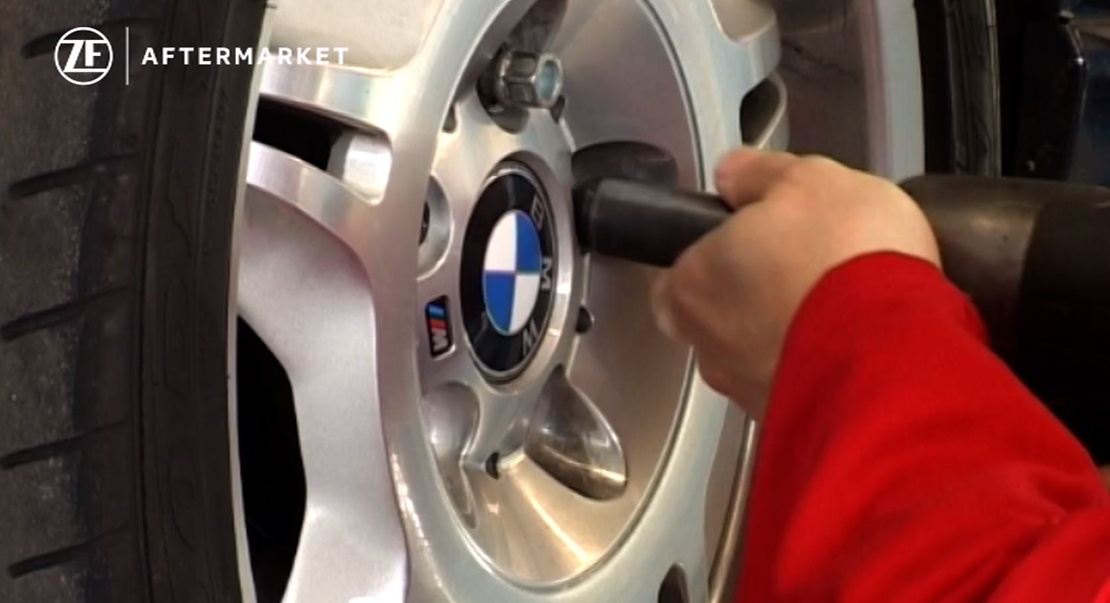
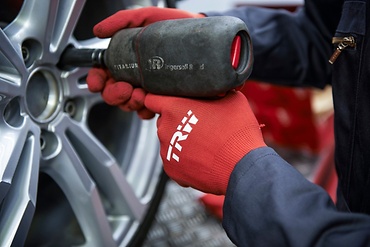
With the vehicle on a two-post ramp, remove the road wheels. Remove the new replacement steering rack from its packaging and read any enclosed literature. Check that the new rack matches the one to be removed. Make sure all the connections and fixing points are identical. Once you are satisfied this is correct, you can start the removal process.
Clamp the steering wheel in a dead center position, then proceed to remove the track control arms as indicated. First, loosen the nut at the tie rod then remove the outer ball joint connection. Undo the retaining bolt and then using a ball joint splitter, separate the ball joint from the wheel knuckle.
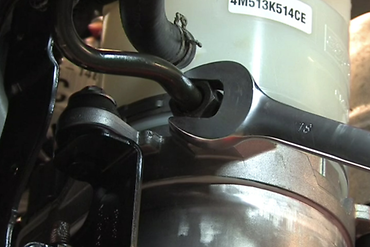
Now locate where the column joins the turret on the rack and remove the retaining bolt. Release the two parts. Now release the cooling tube assembly from its fixings to the steering rack. Next, clean the inlet and outlet line fixings with brake cleaner and remove fixings from the rack.
Next, remove the two fixing bolts that hold the rack to the sub frame and remove the rack as shown. Check that the markings on the steering rack and the rubber cap align as shown by the yellow arrows.
Offer the new rack up into position and replace the bolts holding it to the sub frame. Ensure these are tightened to the correct torque as specified by the vehicle manufacturer. Now reconnect the inlet and outlet lines one at a time and only remove one blanking plug at a time to avoid any contamination. Make sure to connect the inlet and outlet lines the correct way.
These should be tightened to the correct torque as specified by the vehicle manufacturer. Now reattach the steering column to the top of the turret and finally reattach the cooling tube with the special clamp delivered with the steering rack.
Now connect the tie rods to the steering rack as shown. Then position the ball joints into their respective housings. Tighten the ball joint with new fixing nuts to the correct torque in accordance with the manufacturers’ instructions.
Fill the fluid reservoir to the maximum level. With the fluid reservoir cap still removed, start the engine and turn the steering wheel left to right around 10 – 15 times without reaching the lock position. At all times, make sure there is sufficient fluid in the reservoir. Note, this is best performed as a two man operation. This will ensure any air in the system is flushed out and complete the flushing bleed process. Once this is complete, the vehicle can be put back to a road going condition. A short test drive should be performed and the system rechecked for any sign of leakage. If all is OK, the wheel alignment must be checked and adjusted as necessary to ensure stable behavior of the vehicle. Finally, prepare the removed steering rack for return to your supplier in order to receive a core surcharge credit. Please note what is and is not accepted in terms of returned core product.
Nice-to-know

ZF Aftermarket product range
Discover the complete portfolio of steering components in our product catalog.

