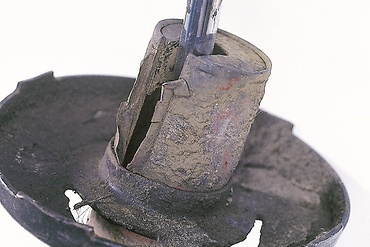
The shock absorber, which is also called the vibration damper, is mainly responsible for safety and driving comfort. Find out in this workshop tip when to change shock absorbers, and how to correctly install new ones.
How-to-guide
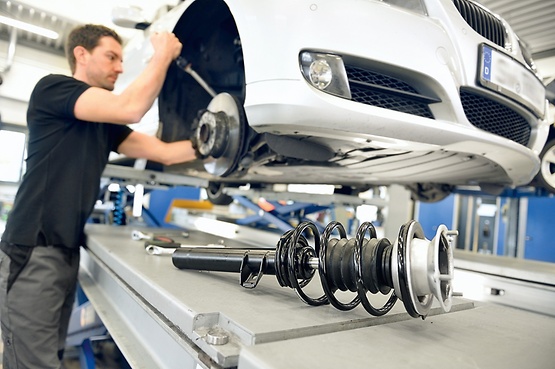
As with all wear parts in cars, shock absorbers are products of attrition and their service life is limited. During its life, a car shock absorber increasingly loses damping force. Drivers usually do not notice the wearing process in shock absorbers because they get used to the change in handling for their vehicle as time goes by. Only the workshop can therefore check a car's shock absorbers and reliably detect any defects. But when is the right time to change your shock absorbers? You should replace the vibration dampers immediately if the check shows up defects, as this means that the shock absorber is at the end of its service life. This is the only way to prevent safety risks and high follow-up costs. This is because, in addition to impairing driver safety due to extended braking distances, malfunctions in the ABS and other vehicle dynamics systems as well as an increased tendency for the vehicle to swerve, worn shock absorbers also cause premature wear in numerous other vehicle parts. This includes, in particular, the tires, springs, and chassis and steering parts. If you can replace defective shock absorbers in good time, you not only reestablish the safety of the vehicle, but you also prevent costly follow-up repairs. Generally, correctly installing shock absorbers is routine work for a workshop. Despite this, you must pay attention to some important details.
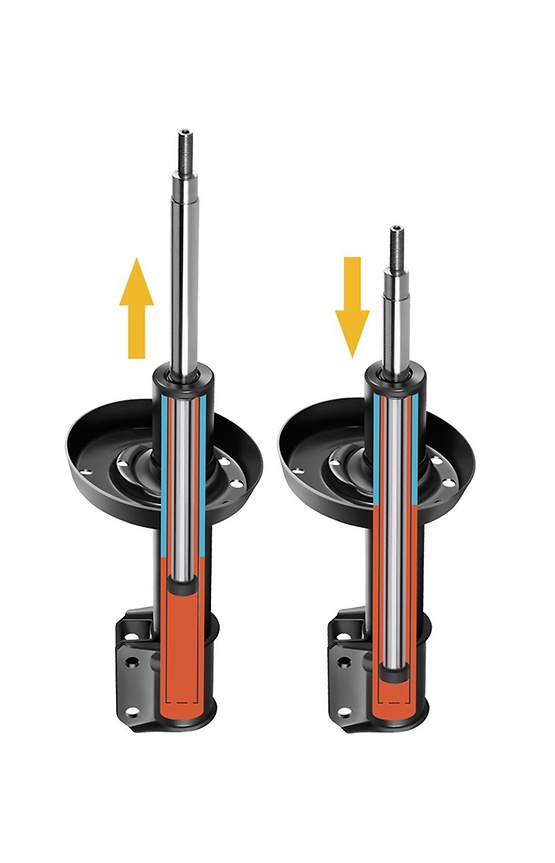
In order to correctly replace shock absorbers, you should vent the new dampers before installing them.
Due to the horizontal storage of the shock absorbers during transport, gas and hydraulic fluid are mixed together inside the shock absorber. If you want to replace car shock absorbers without venting the new ones beforehand, the optimum damping effect will only be achieved once the vehicle has sprung up and down several times. This may lead to an increased build-up of noise (hissing).
In order to prevent this unpleasant effect for the driver when replacing the shock absorbers, the piston rod must be manually pushed and pulled several times in the operating direction. This separates the gas and hydraulic fluid from each other again.
The shock absorber has now been vented and will achieve its full shock-absorber effect immediately after it has been installed.
Some valuable tips on how workshops can correctly install shock absorbers are included below. Due to the many different types of shock absorber, we can only provide you with a few basic instructions on replacing shock absorbers here.
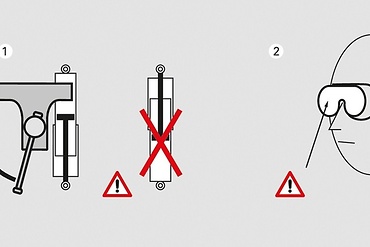
WARNING: Risk of serious injury caused by the sudden release of springs. Always use a suitable spring compressor.
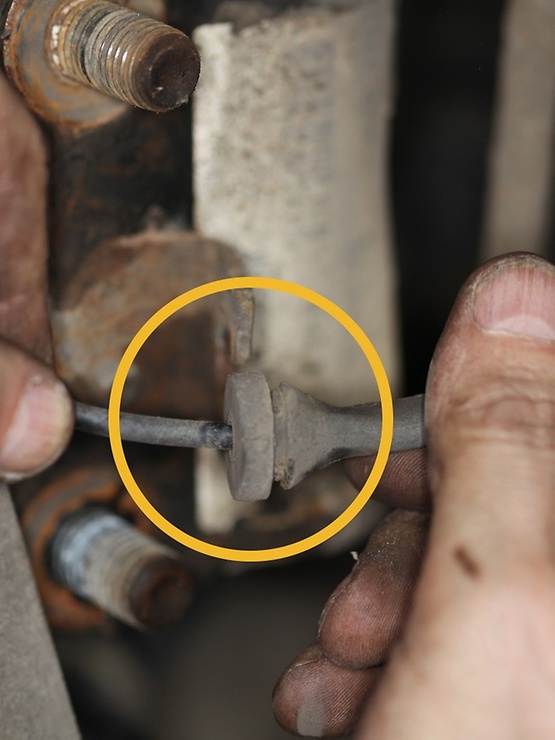
Tips for the front axle
- If you want to replace vibration dampers, use a suitable tool (e.g. a transmission jack) to support the wheel suspension before removing the shock absorbers.
- Replacing passenger car shock absorbers on a McPherson spring strut requires, where appropriate, that the cables are detached from the wheel speed sensors (also known as ABS sensors) and electrical lining wear indicator, and the brake hose is detached from the corresponding brackets. (see illustration)
- Loosen and remove all mounting bolts, and remove the shock absorber and/or spring strut. If you also remove a spring strut, you must observe the installation instructions and safety regulations from the manufacturer.
- For the assembly and installation, replace all of the mounting bolts and install the supplied accessory. Observe the torque that is specified by the vehicle manufacturer for the mounting bolts.Secure any cables that may have been detached from the ABS sensors (wheel speed sensors) and electrical lining wear indicator before replacing the shock absorber, as well as the brake hose, back into the corresponding brackets.
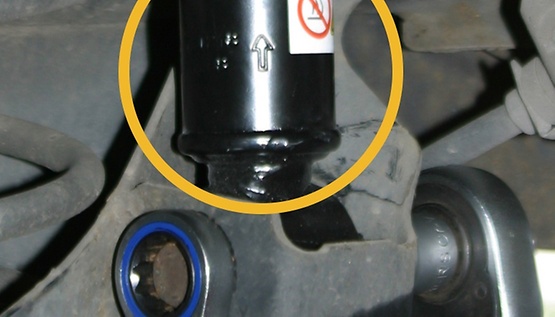
Rear axle
- Before the removal, use a suitable tool to support the chassis (e.g. a transmission jack).If required, remove any trims from the vehicle interior in order to reach the damper's upper mounting bolts.
- Loosen and remove all mounting bolts, and remove the shock absorber.For the installation, replace all of the mounting bolts and install the supplied accessory.
- Observe any existing markings for the installation and the torque that is specified by the vehicle manufacturer for the mounting bolts (see illustration).
- In order to guarantee safe vehicle handling, always replace both shock absorbers on an axle!
- After changing the shock absorbers, carry out an axle alignment.
- Then carry out a test drive in order to check that they are working correctly.
ZF Aftermarket product range
Discover the complete portfolio of suspension systems in our product catalog.

