How-to-guide
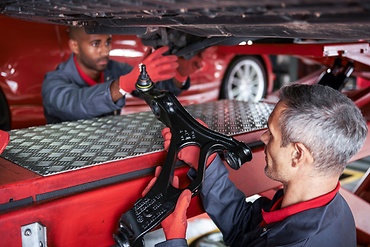
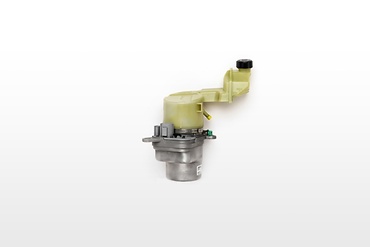
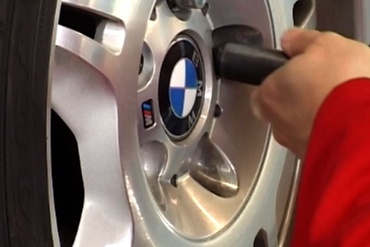
Remove the offside front road wheel and remove the inner plastic wheel arch lining. Remove the front under bumper plastic cover and then compare the newly received part with the one originally fitted to the car. Make sure all connections and mountings are exactly the same. This is best done before removing the old pump from the car.
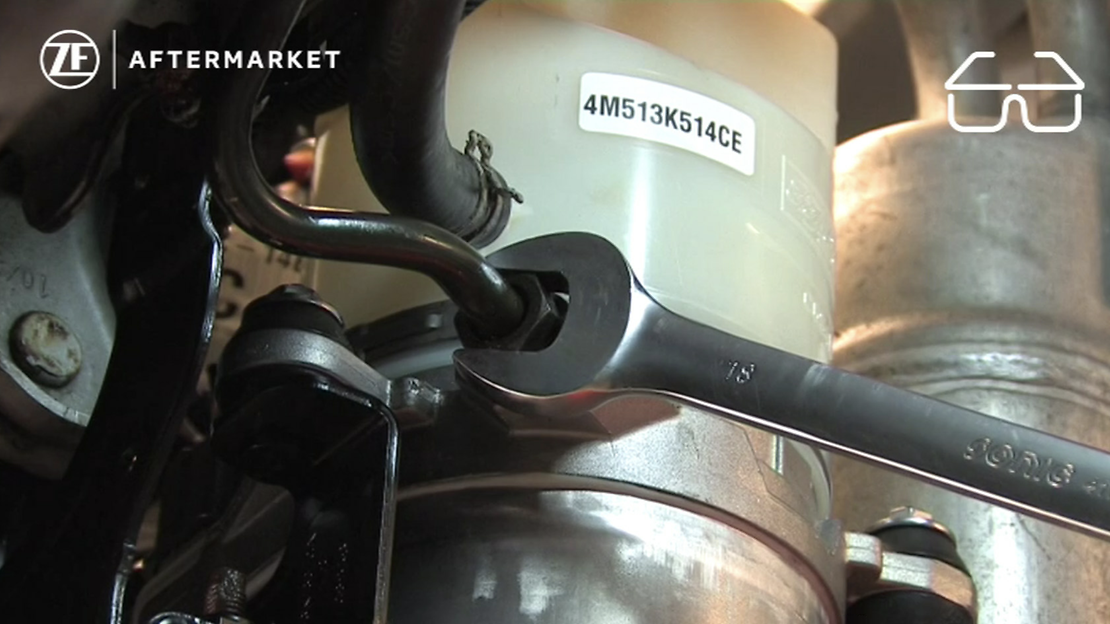
First remove the high pressure pump outlet pipe being careful to catch any released fluid. Preferably, catch this fluid on a white cloth or paper and check the fluid for dirt or metal shavings. If there is any sign of contamination in the fluid, the system must be completely flushed.
Next, remove the return pipe to the pump reservoir and proceed to remove the three mounting bolts. The pump can now be moved out of position and the electrical connectors disconnected. It is advisable at this point to inspect the vehicle harness connector to ensure there are no signs of damage and corrosion due to water ingress.
Once disconnected, the pump can be completely removed and put to one side. Next, remove the front offside headlamp and prepare for reinstallation of the new pump. It may be necessary to install the adapter cable delivered with the pump as later cars had a different connector configuration.
Locate the earthing point close to the pump installation and if using the new adapter cable, secure the earth lead to this earth point ensuring all connections are good electrically. If using the new cable, connect the old plug to the cable and now connect this new cable to the pump unit.
Place the pump in position and fix using the original mounting bolts. Ensure these are torque to the specification set by the manufacturer. Next, reconnect the return hose to the pump reservoir followed by the high pressure outlet. Tighten this accordingly, again torque to the specification set by the vehicle manufacturer. With the pump now correctly in position and mounted, remove the filler cap from the reservoir bottle and fill with the appropriate fluid as recommended by the vehicle manufacturer.
Proceed to bleed the system in accordance with vehicle manufacturer instructions. Replace the cap on the reservoir bottle and replace the headlamp unit. Replace the inner wheel arch lining and finally the under bumper plastic cover.
Prepare the old pump for return to your supplier by fitting the connector caps and fluid outlets with the covers from the new pump. This pump should then be returned for a credit of the core surcharge.
Once the pump is installed, it will be necessary to program it to the CAN-Bus system. This can only be carried out using an appropriate diagnostic tool or at the vehicle manufacturer’s workshop.
Repair instructions XZM114i – please click here to download the PDF file
Nice-to-know

ZF Aftermarket product range
Discover the complete portfolio of steering components in our product catalog.


