Our practical advice manual shows and describes how to replace a TRW replacement caliper on an HCV. This may be necessary when a defective adjuster has been detected when inspecting the caliper or changing the brake pads.
How-to-guide
After safely lifting the vehicle and dismounting the wheel, you can start changing the brake caliper.
Note: Before dismounting, compare the new part to the installed caliper. In addition to the correct part number and version, it is important to check the connections of the wear indicator and the ABS sensors.
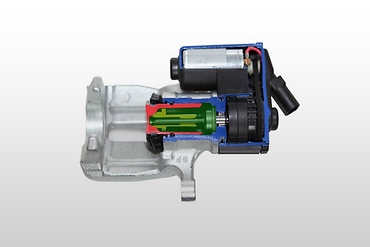
After disconnecting the cable connections of ABS sensor and pad wear indicator and dismounting the brake actuator, the pistons of the brake caliper have to be reset mechanically. Remove the cover cap from the adjuster and turn the adapter below (included as an accessory with the TRW brake pads) anti-clockwise (the “spinning moment” of the overload coupling in the adjuster creates a “click” sound) so that the pistons reveal the inner pad.
Now you can remove the self-locking pin, the securing bolt and the pad retainer. Move the caliper back and forth to free up the pads and remove these as well.
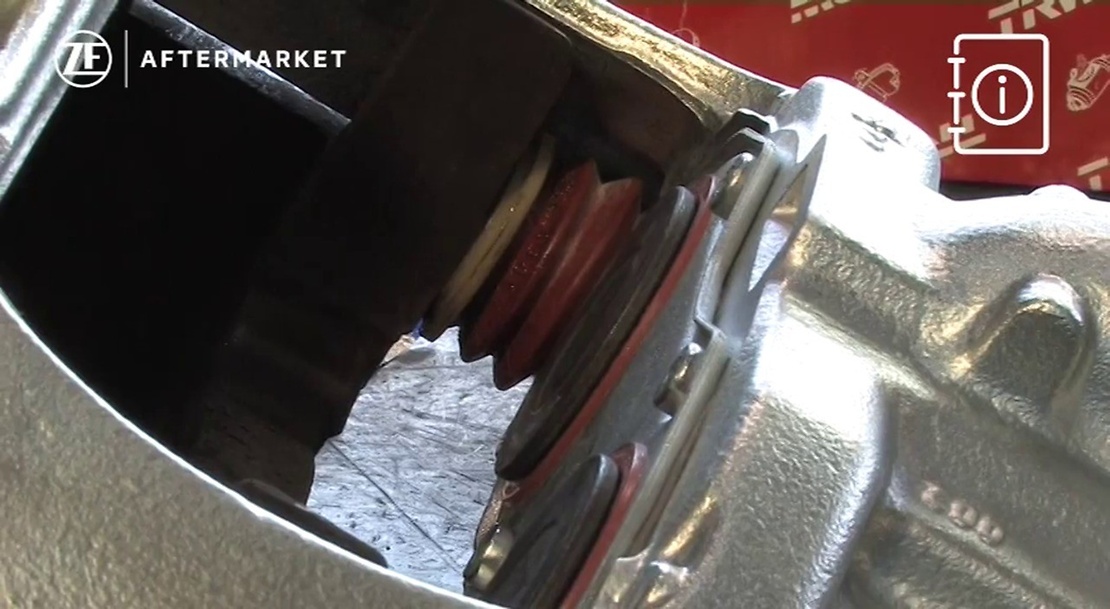
Defective dust cuffs can allow moisture to enter the adjustment mechanism which leads to corrosion of the inner components and consequently to failure of the adjuster.
Now remove the fixing screws of the carrier and completely dismount the caliper.
Converting the housing:
Remove the protective cap and both screws from the bolt guides. Clean the carrier after dismounting it. The more carefully you clean this part, the smaller is the risk that the pads will become stuck in the pad slot later on, causing the brake to overheat.
The TRW replacement calipers are supplied with all accessories. This ensures a simple repair process and reliable functioning of the brake. Please use all of the accessories supplied.
After completing the housing, mount the carrier. Please note the defined tightening torques in each case, as for any task.
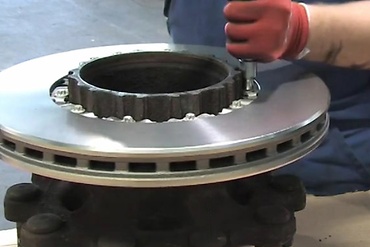
Before installing the new caliper, check the condition of the brake disc. Observing the wear limit (usually punched onto the disc) and carrying out a visual check for cracks and corrosion are particularly important here.
If the brake disc is OK, you can mount and fix the caliper.
In the next step, install the supplied pad springs on the new pads.
Note: Due to ongoing product improvement measures, TRW has changed the design of the pad retaining spring on some pad kits. The new pad retaining spring and the previous TRW or OE pad retaining spring are fully interchangeable!
Also refer to TRW Service Information XZS152
Now install the new TRW brake pads and install the supplied accessories for securing the pads.
Attention: Never rework the brake pads. Manual reworking of the pads, such as grinding or filing the reverse side of the pad, causes mechanical and thermal overload. This can create unwanted noise or cause the brake caliper guides to become stuck. It reduces the efficiency of the brake and increases wear and noise. Do not make any changes to the brake system!
Now you can mount the brake actuator and connect the cables.
The final adjustment work is particularly important for the function of the brake later on.
Note: Fully observe the vehicle manufacturer's information to learn about the correct procedure for the different vehicle types and brake caliper variants!
In our installation test, we carried out the adjustment procedure defined by the manufacturer for this case:
- Turn the adjuster clockwise until the pads touch the brake disc. Do not turn the adjuster too far!
- Then turn the adjuster back by 3 to 4 clicks.
- After actuating and releasing the brake (not shown in the video), is has to be possible to turn the wheel hub by hand.
To obtain reimbursement for the deposit value of the exchange part, attach the label to the old brake caliper and return it to us in the original packaging.
Then mount the wheel, centre it and fix it with the torque defined by the vehicle manufacturer.
After a test drive, check the brake system on an HCV brake test bench.
Nice-to-know

ZF Aftermarket product range
Discover the complete portfolio of brakes in our product catalog.


