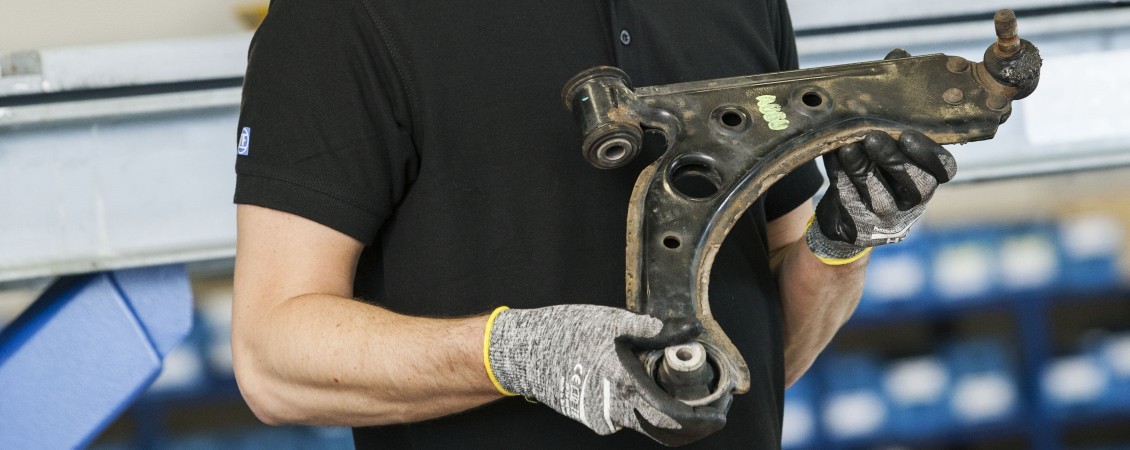
Control arms are installed in pairs on the front and rear axle and connect the chassis to the wheels as part of the suspension. Therefore, they have a significant influence on the driving characteristics of the vehicle.
A dynamic or a comfortable driving style? The control arms are individually adjusted to the vehicle depending on the desired characteristics. They also absorb lateral movements and forces resulting from driving off and braking.